Every year, when Labor Day comes around, I typically schedule a week off from work. I never really have anything planned until about 2 weeks before. For 2024, I decided that I would go on a solo trip to Colorado. I have never been out there before and I love hiking and camping, so this seemed to be a great opportunity.
I had to make this trip relatively low budget since I am still working on my debt free journey. I was able to save up a bit of money on the side for this trip by putting aside $50.00 per week to a separate bank account. Adds up pretty quickly! After 4 months I had about $800.00 available for this trip.
Below is how much I spent for this 3-day trip ($833):
- I found a round-trip flight out there for $165.
- I rented out a mid-sized SUV for $321
- Tolls $18
- Amex Car Insurance $20
- Showers at Love’s $54
- Sand Dunes Camping fee $25
- Gas $150
- Food $80
My flight itinerary was the following:
- LGA to DEN – Sept 3 10:00 PM – Sept 4 12:16 AM
- DEN to LGA – Sept 7 3:16 PM – Sept 7 8:59 PM
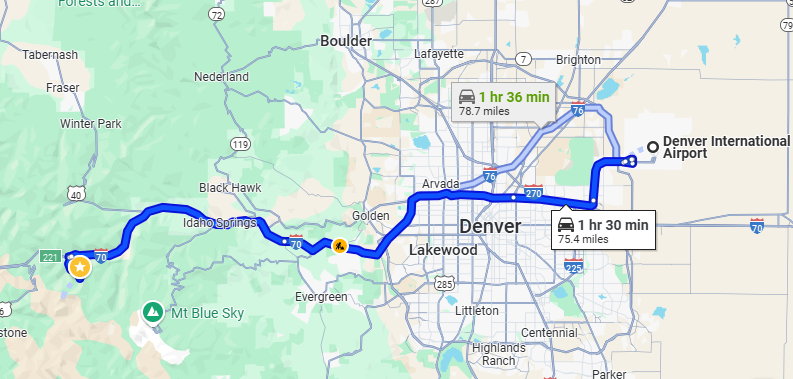
My flight arrived at Denver, Colorado at around midnight. I went to pick up my rental and made a quick stop for some snacks at a gas station. I grabbed some cliff bars and 3 large bottles of water and put those into my backpack. It is worth noting that the only thing I took with me on the plane was my backpack, which had some clothes, a headlamp and a few basic hygienic items. I also did not make any hotel reservations since my plan was to find dispersed camping spots to spend the night while I was there.
I started driving towards the first stop of the trip: Grays Peak.
A few things about Grays Peak:
- 14,276 ft above sea level
- One of the 58 fourteeners in Colorado
- Tenth highest summit of the Rocky Mountains
- Pretty cold and tough to breath up there at sunrise
I got there and started my hike at around 02:30 AM. I kept my headlamp at the lowest setting for most of the hike. Amazing how dark it is out there and how our eyes adjust to it. This is a video of me early on in the hike. The first half the camera can’t capture much, but I can see just fine. Then I turn up the brightness and you can see the trail.
It took me about 3 hours to get to the peak. The final stretch up was really tough. I had to stop every 50-100 steps for the last 20 minutes or so. But it was worth it. When I got to the peak the sun was just starting to rise and that was just a wonderful sight. At the peak, I was surprised to see another hiker sleeping up there. He was a European guy that had arrived the night before and was waiting for the sunrise as well. It was really cold up there, but I waited for about 30 minutes so that I could get this wonderful video.
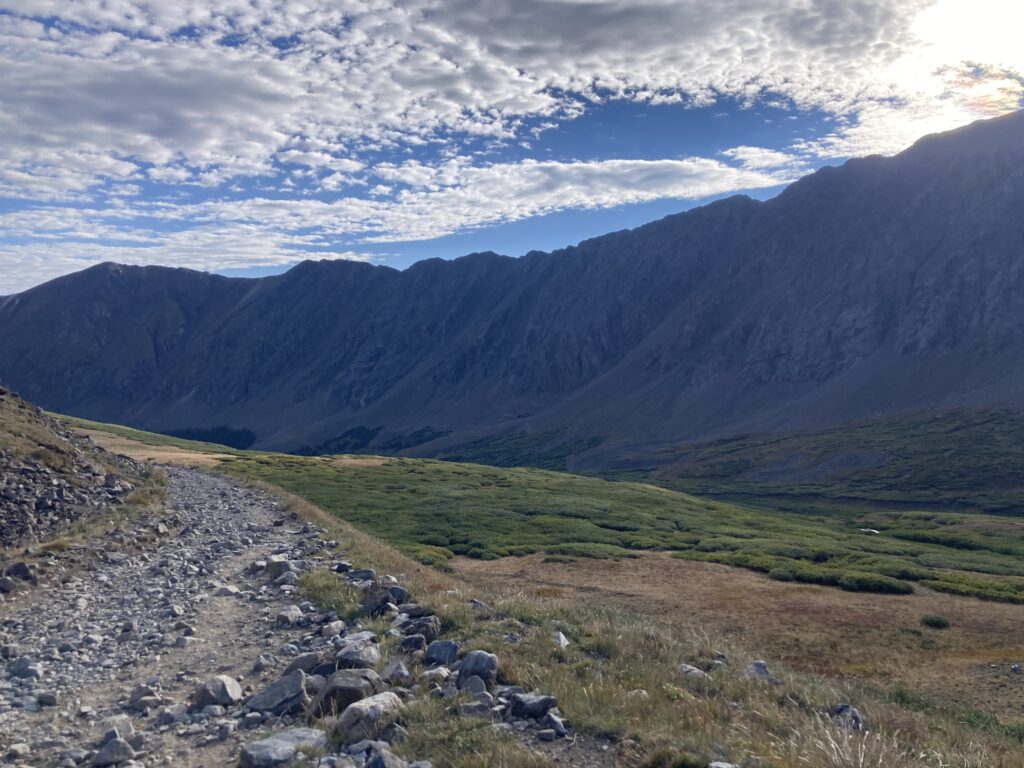
It was a wonderful feeling to be up there, taking in that beautiful sunrise. I wasn’t up there for long though since it was pretty cold and the air seemed to be very thin, making it a bit hard to breathe. I started making my way down and back to the trailhead. The way back was much better than the way up since I could actually see the scenery along the way! This was one of the pictures I captured along the way back. Hiking poles would have been awesome on the way down. Note taken to pack those on the next trip to prevent my knees from taking a beating.
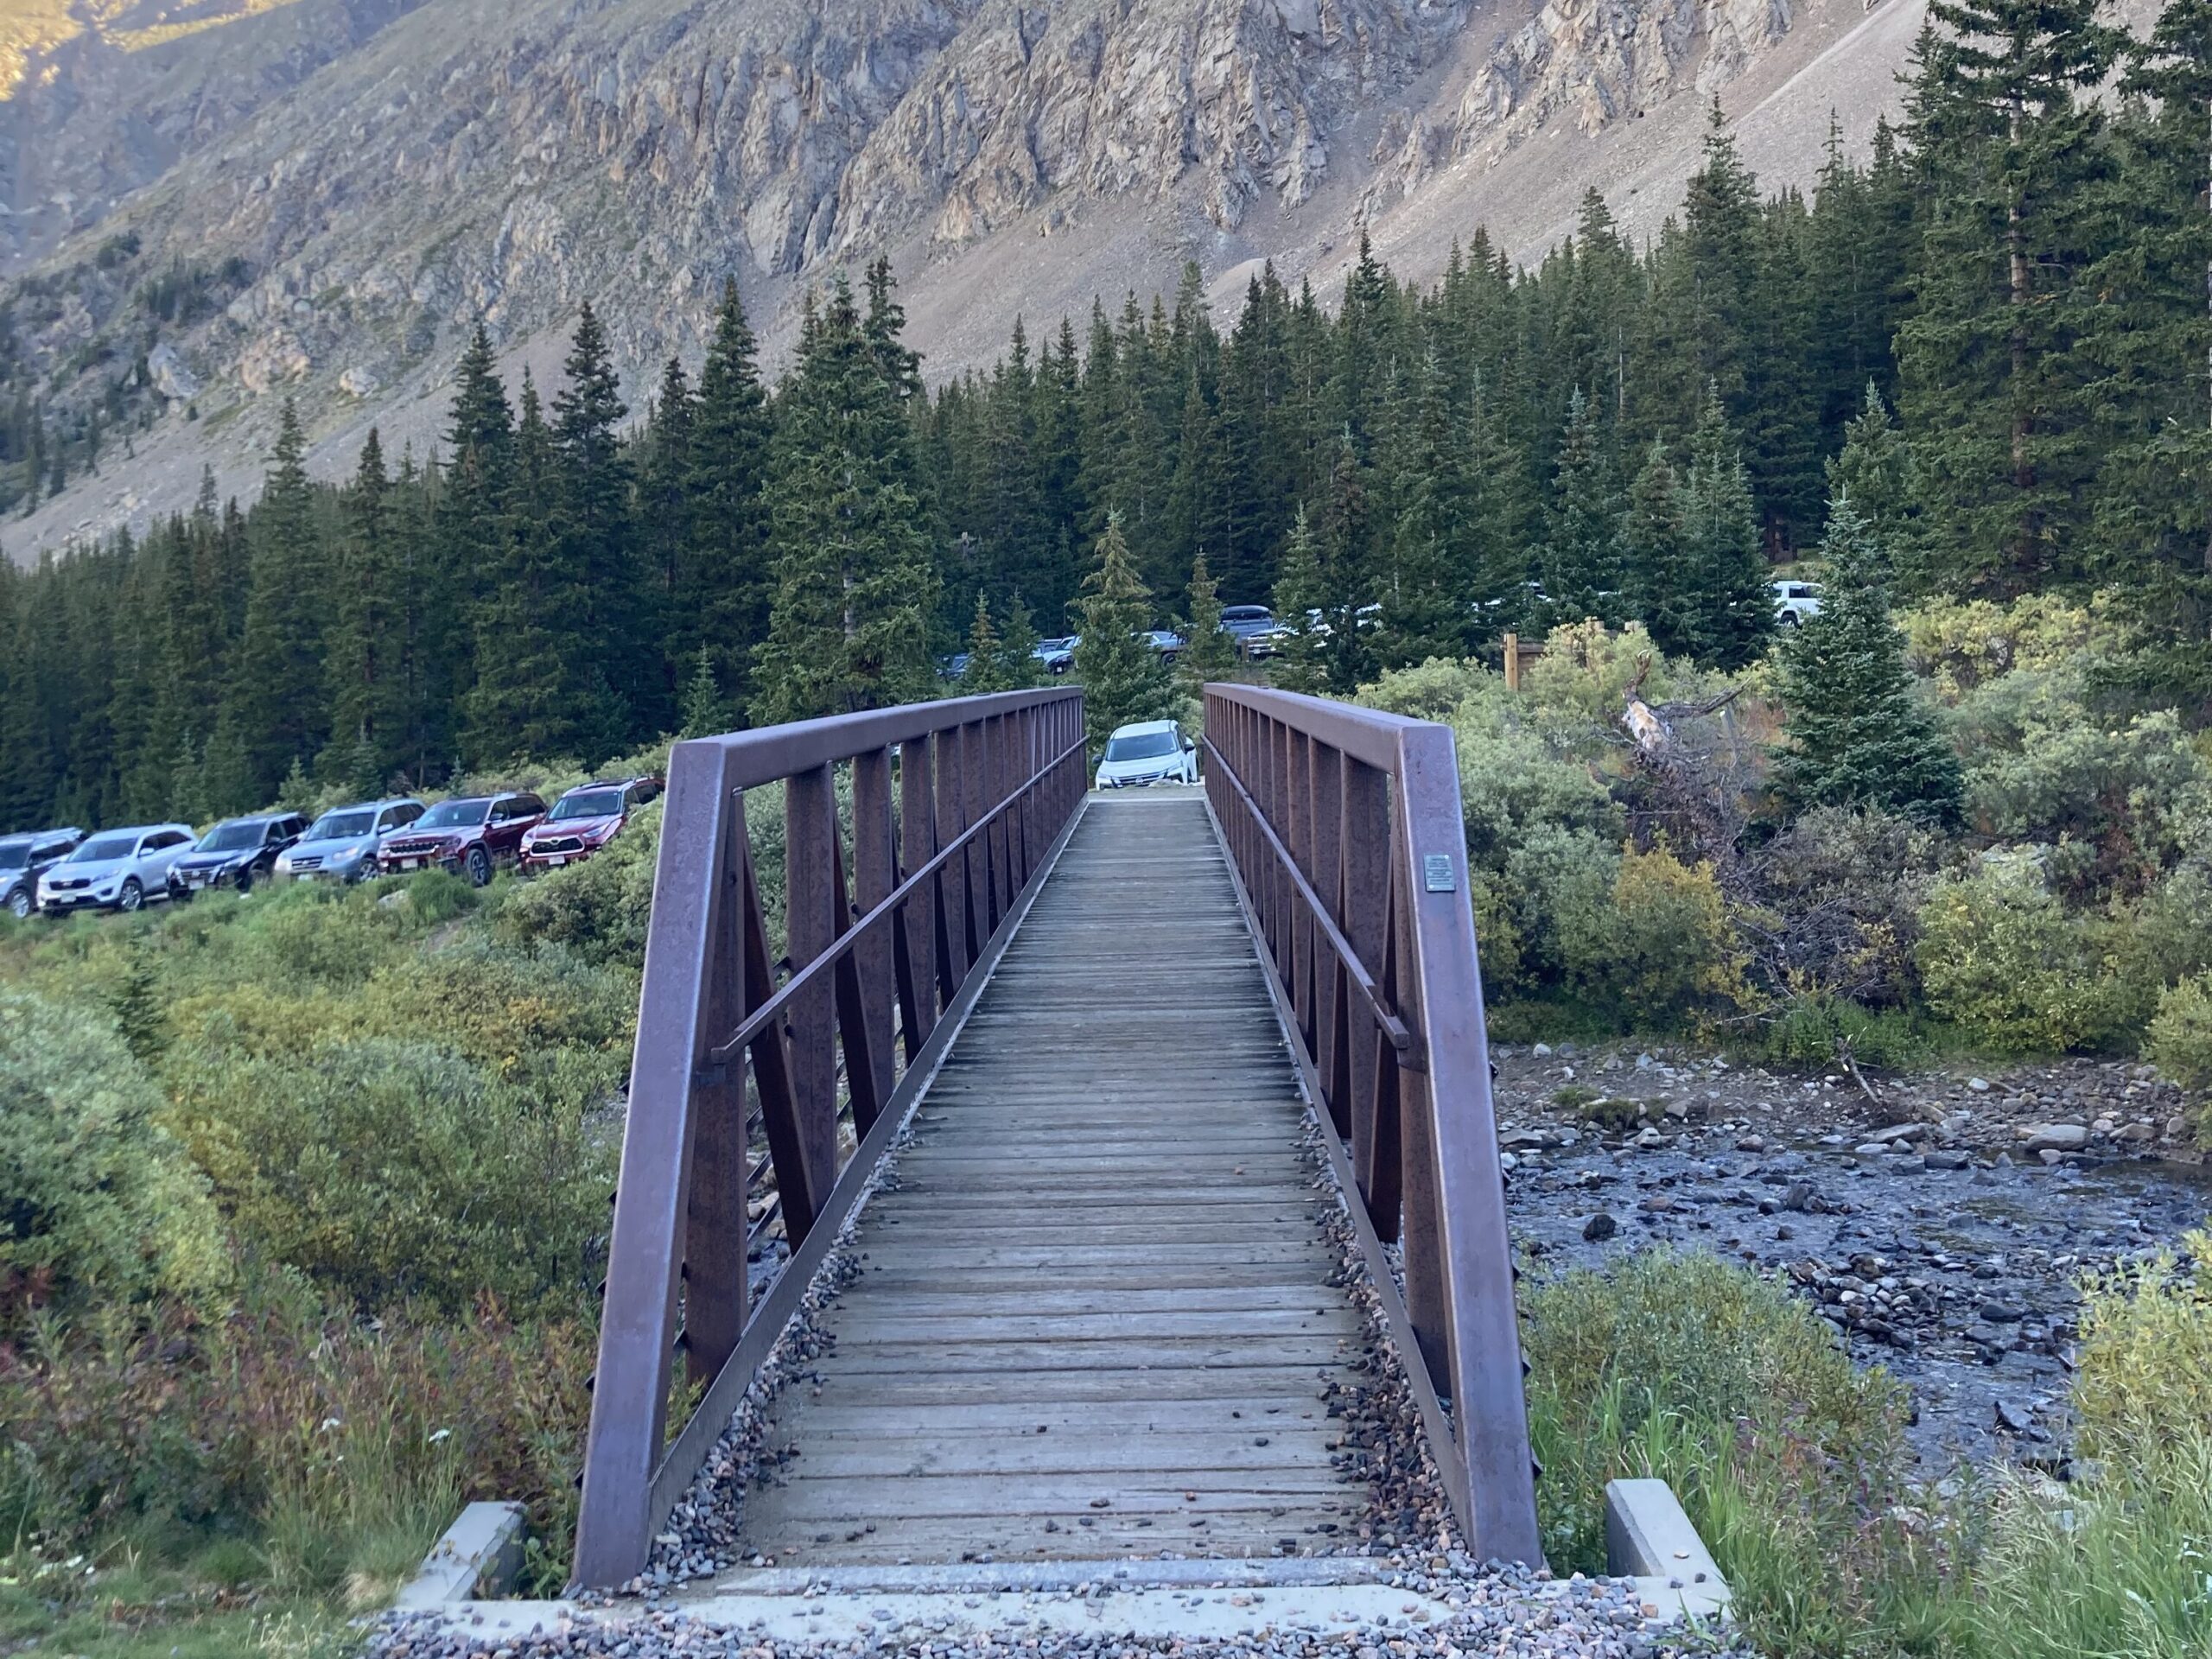
After a few hours, I made it back to the trailhead and was ready to head over to my second location so that I could set up camp, grab some food and rest for a bit.
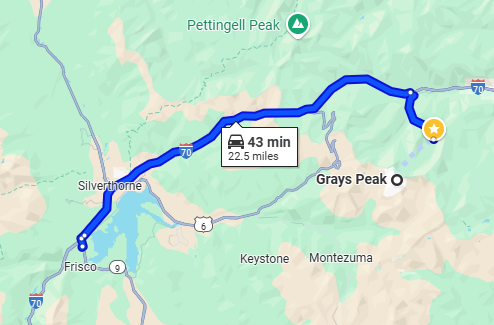
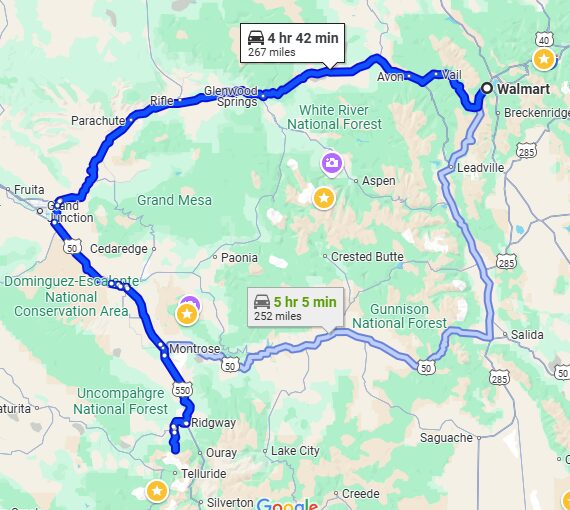
Right after the hike I decided to head over to the nearest Walmart, which was around 45 minutes away so I could grab some camping gear and some food.
I ended up spending about $140 on the following camping gear:
- Ozark Trail, 3-Person Clip & Camp Dome Tent 7’ x 7’ x 44”, 5.64 lbs – $30
- Ozark Trail 30-Degree Cold Weather Mummy Sleeping Bag with Soft Liner, Blue, 85″x33″ – $35
- Sunisery Ultralight Foldable Waterproof Moisture Proof Foam Sleeping Pad – $23
- Coleman 400 Lumens Personal LED Lantern with 4D Battery – $40
I did not add this expense to the overall trip budget, since I ended up returning all these items to Walmart on my way back. Just packed them back up neatly and returned them stating that they were not as comfortable or useful as I expected. No problems at all.
Then, after then I started my drive towards my second destination: The Blue Lakes in Telluride. Close to a 5-hour drive.
The drive was nice for me, since I genuinely enjoy driving long distances and getting wonderful views along the way. The weather in Colorado seems to be all over the place. I got a bit of rain, some wind and a lot of sun on the road to the Blue Lakes. This video below shows one of those nice views along the way.
Once I was a few minutes away from my destination I had to stop and get out of the car to get this wonderful video of the beautiful mountain that I was going to take on the following day.
A few things below about the Blue Lakes in Telluride:
- 6.2-mile hike with an elevation gain of 2217 ft.
- The lakes are known for their striking blue-green color
- Lower Lake, Middle Lake and Upper Blue Lakes
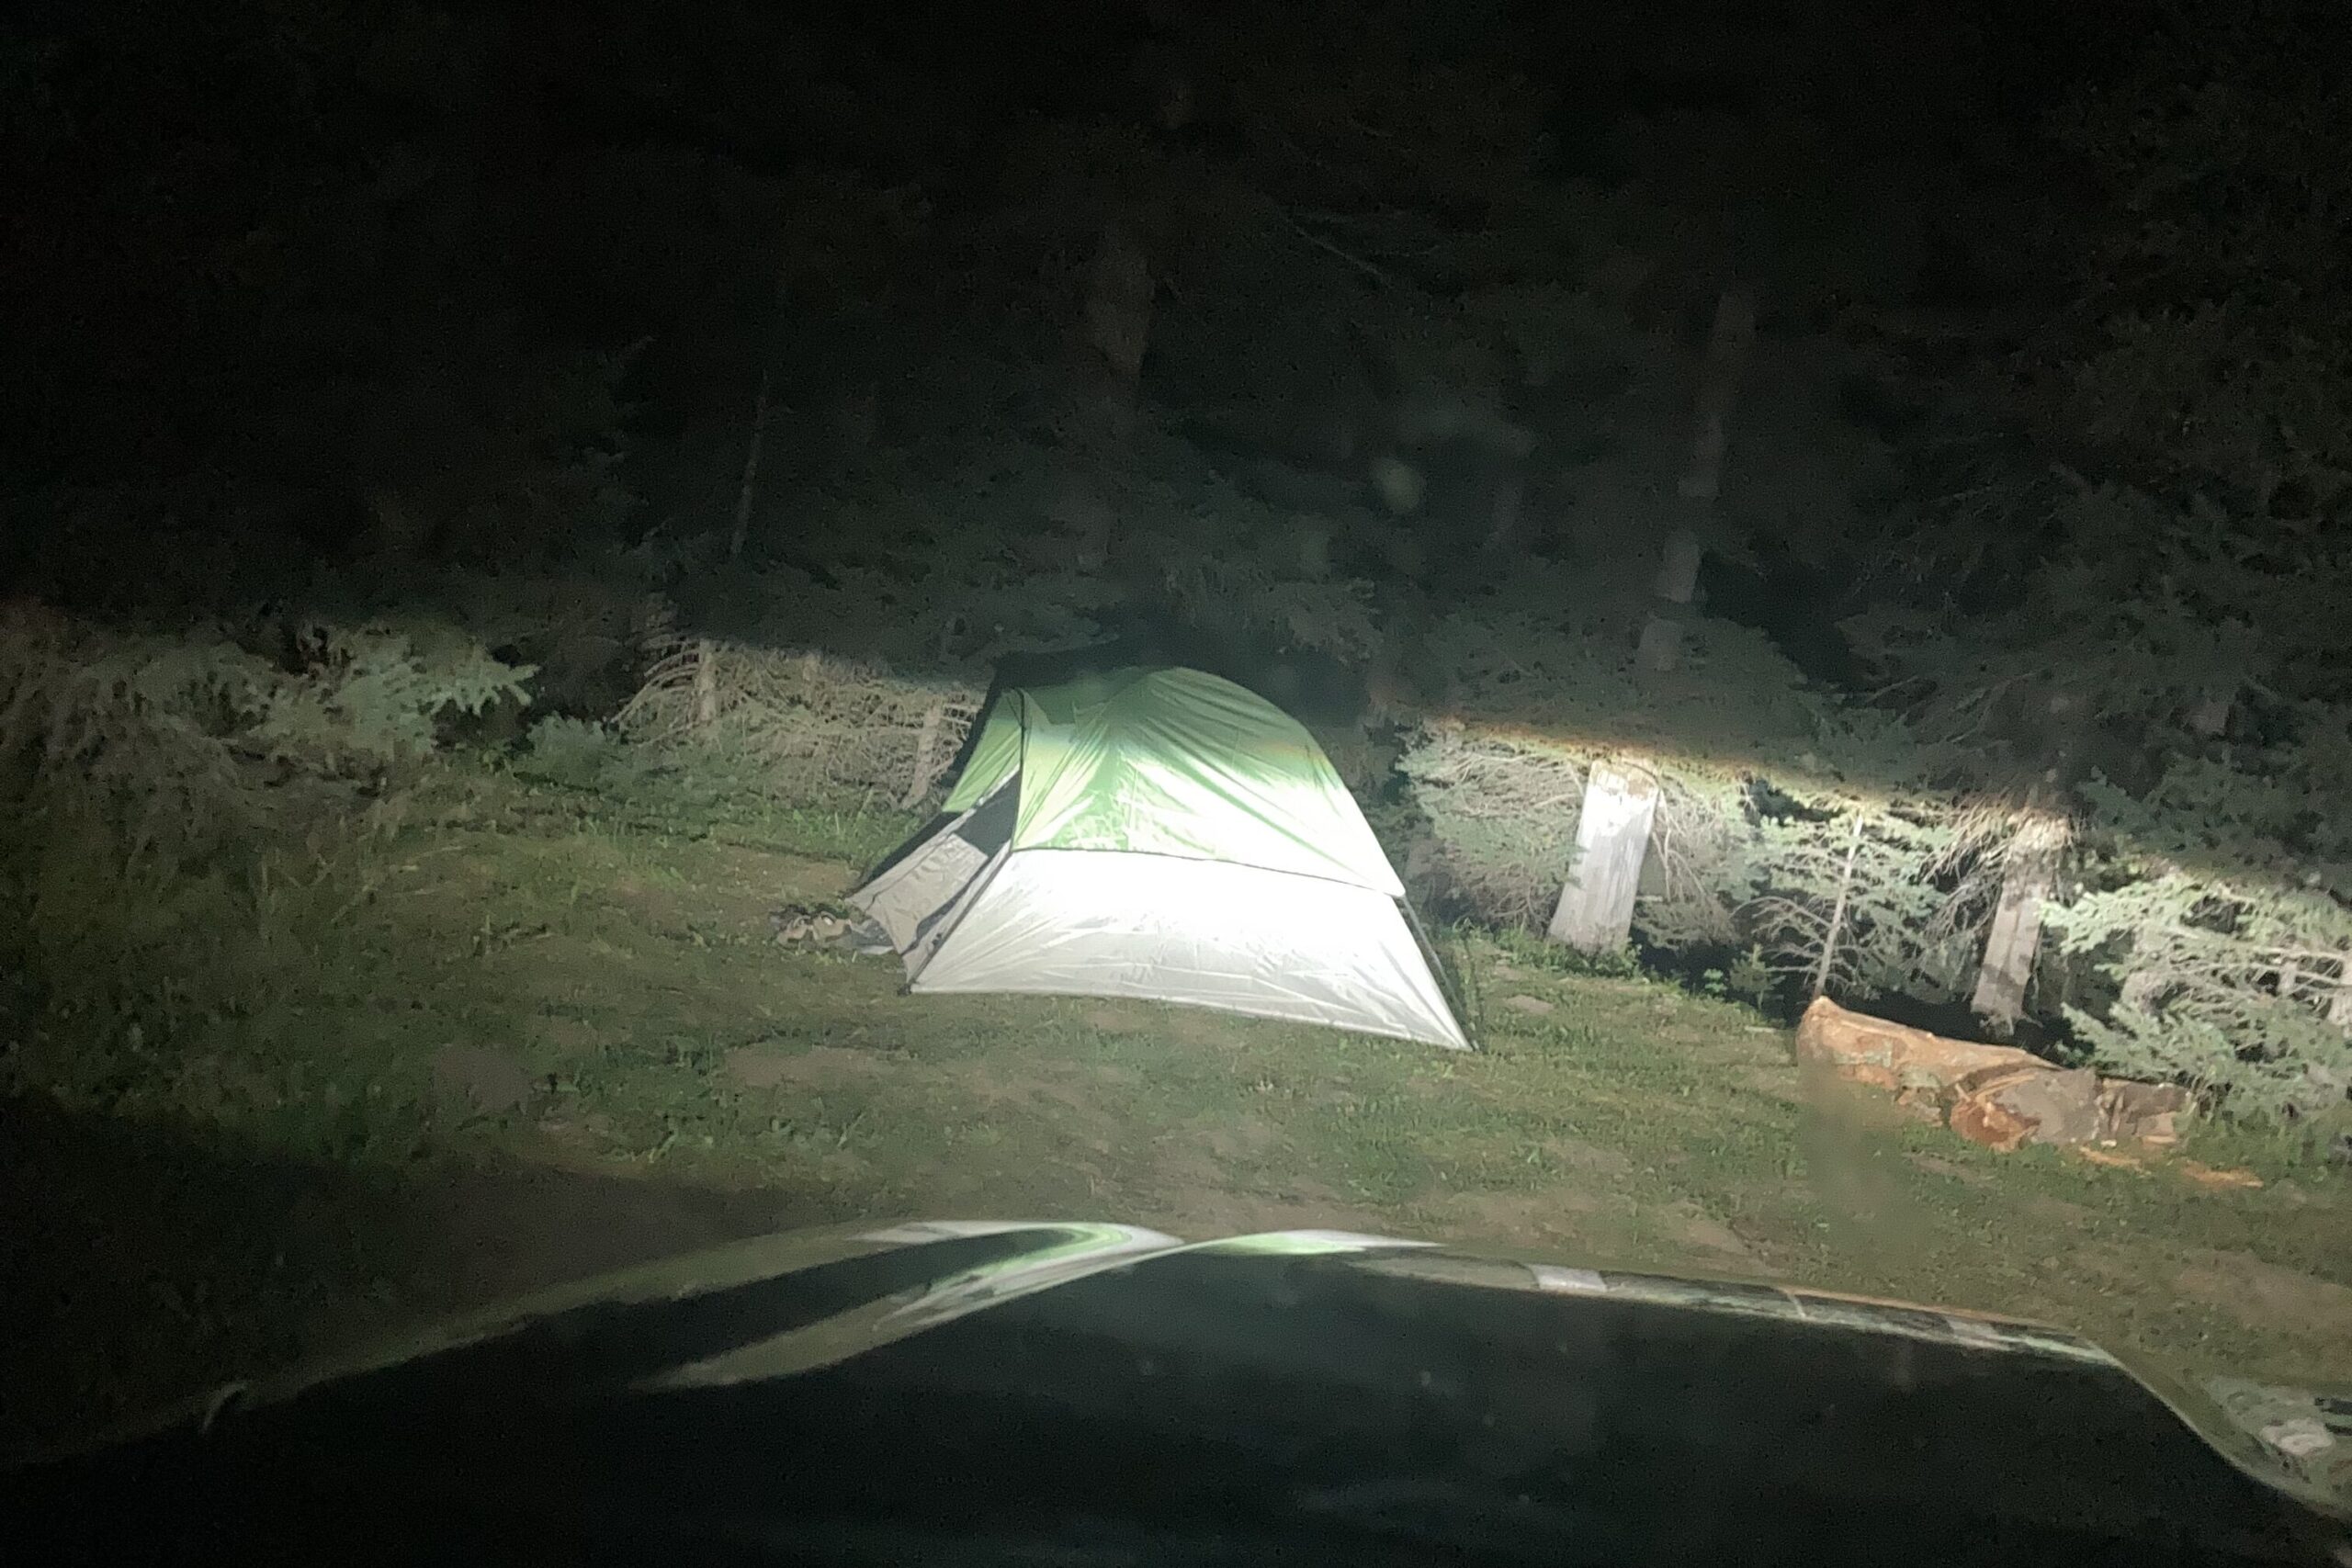
After a long day of hiking and driving, found a dispersed camping area near the trailhead of the blue lakes and I set up camp for the night. There was some flowing water near me, so it was nice and relaxing. And since I was exhausted, I knocked out soon after I set up camp.
The following morning at around 9 AM I packed up all my camping gear and made my way to the trail head. There were a decent number of cars in the trailhead already, so I was lucky to find some parking that was not too far away. And away we go; hike number 2 begins.
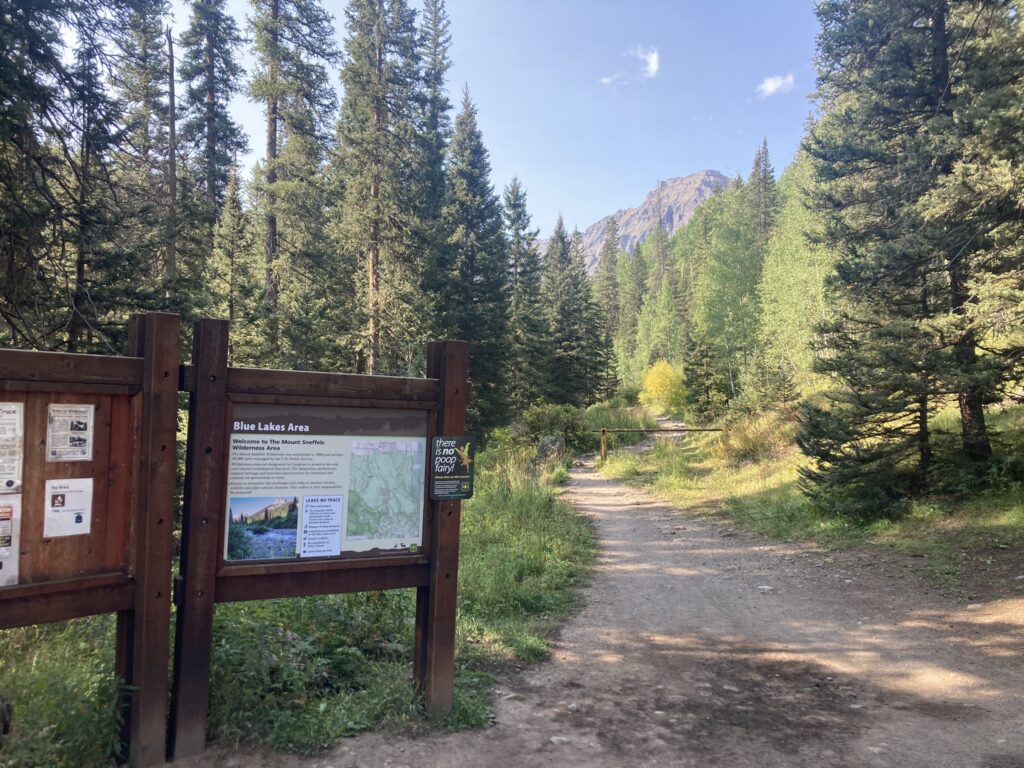
The way up to the lakes was very scenic and thankfully I didn’t run into too many people along the way. Trail was not too challenging and was very well maintained.
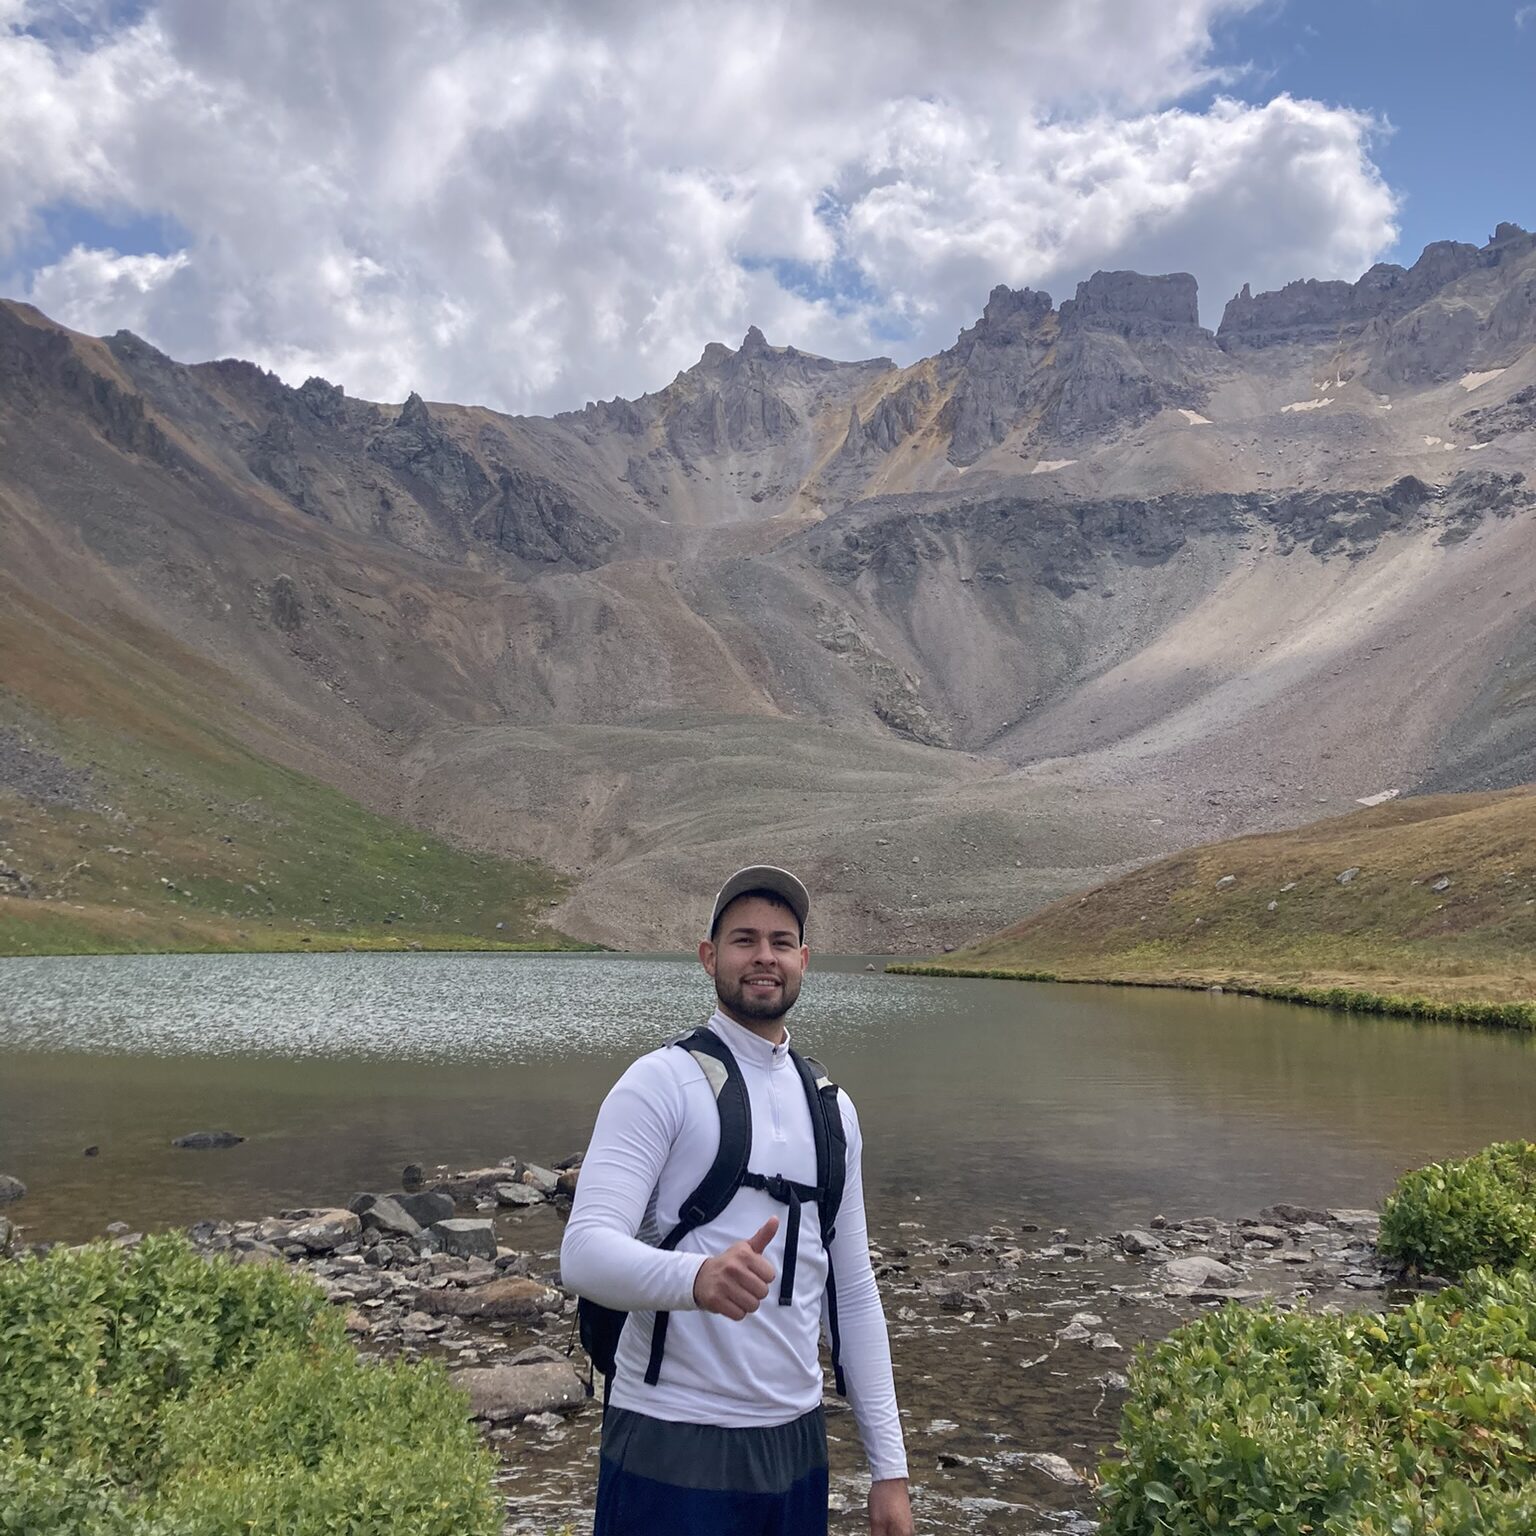
When I arrived at the lower lake after a few hours hiking, I was not disappointed. The water was so clean and blue, and the view up close of mountains was so breathtaking. It was nice to learn that there was a campground near the lower lake. If I ever go back, I will be sure to hike up there with my camping gear and set up camp near the lake. 1 Done 2 more to go.
I continued my hike and started my trip up to the middle lake. I was pleasantly surprised to see that there were a few nice overlook areas to see the lower lake from above. The striking blue green really stands out from above. Once I got to that overlook spot, I sat there for about 30 minutes and just took in the beauty of it all.
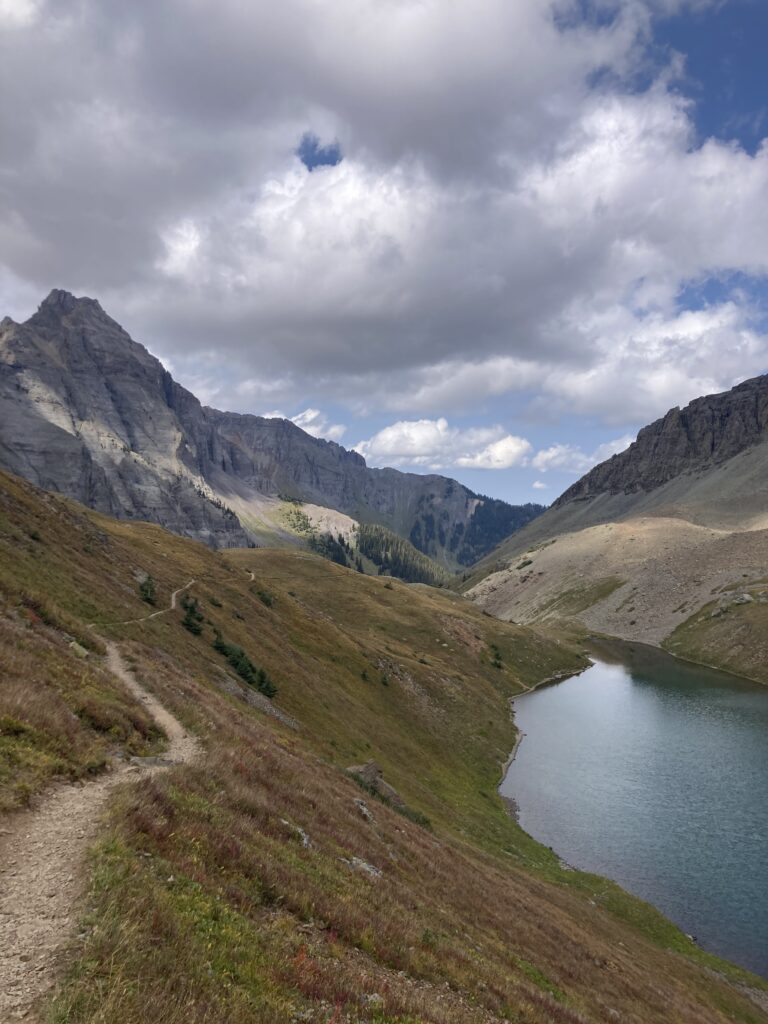
I then made my way up to the middle lake. It was not too far from the lower lake and the change in scenery was very nice as the hike progressed. Below you can see a really nice picture I captured as I was passing by the middle lake.
A few minutes later, I made it up to the upper lake. A few people we gathered around in that area, so I asked a guy to take a picture of me in front of the upper lake. The mountains behind the lake give this view a very nice and unique effect. I tried to skip a few rocks onto the lake and then started my way back down.
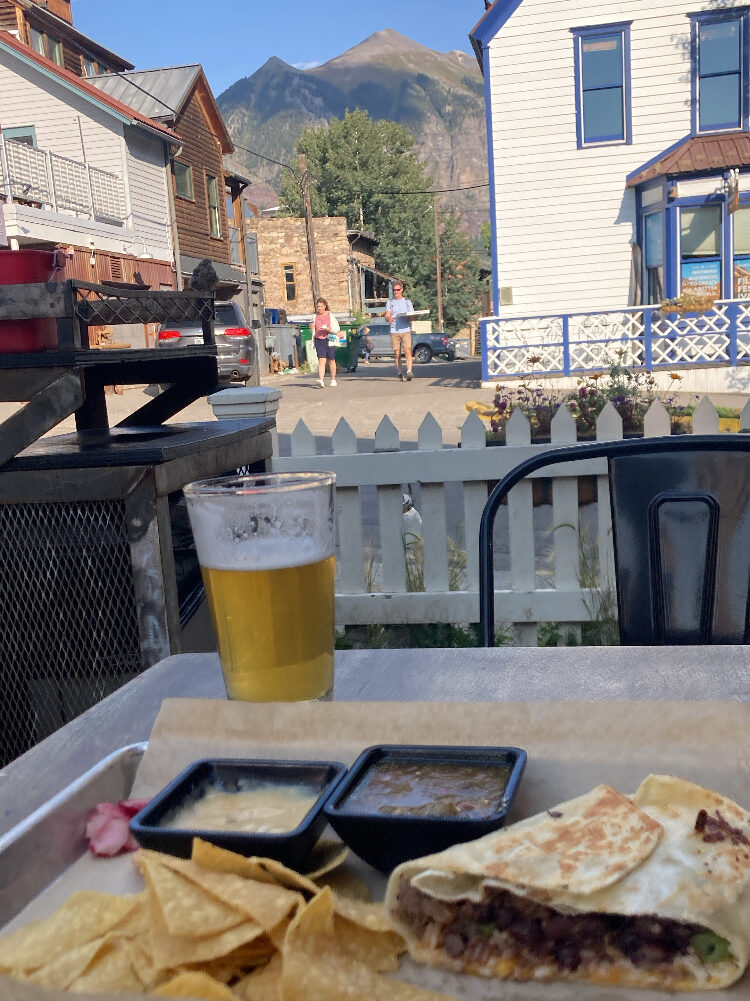
I made my way down and at this point I was really hungry and figured it would be nice to go hang out in Telluride and grab a quick bite before starting to look for a dispersed camping area where I could set up camp for the night. I ended up finding this cool small family-owned restaurant and grabbed myself a nice meal and a beer. The view from the outside seating area was really nice!
At this point it was around 5 PM and I needed to find a good spot to rest for the day that was not too far away so I could set up camp while I still had daylight. I used my Avenza Maps app to check out the MVUM (Motor Vehicle Use Map) for the area that I had downloaded before the trip. I ended up finding a nice spot that was not too far away, so I made my way over there. It ended up being a nice and secluded spot as you can see in the video below. There was even a rock fire ring there waiting for me! Note to self: Take something to start a fire next time! There were a few other dispersed camping spots on this road that I saw, but when I saw this one hidden in the trees, I said this was the one.
I set up camp for the night and got some great sleep. Something about the peace a quiet in the woods has a very calming effect on me. The next morning, I packed up my gear and started making my way to the third and final destination of this trip: The Sand Dunes. On the way there I ran across this nice lake, near where I had set up camp. I would love to have a lake house in an area like this one day!
A few things about my next destination, the Sand Dunes:
- $25 Entry Fee
- $6 backcountry camping fee
- Largest Sand Dunes in North America
- Great Sand Dunes is an International Dark Sky Park
- Spans over 149,000 Acres

Once I made it to the Sand Dunes, I was impressed with the interesting contrast between the forest and the desert. The video below shows the abrupt change. It is a wonderful gift from mother nature!
The hike to the peak was very difficult. With every step I took, I felt like the sand was pulling me back. Each step was difficult, but I was committed to getting to the peak and then making my way down to the wilderness to find a camping spot in the depth of the dunes. I ended up making it to the peak right in time for sunset and I was in for a treat. I guess this is why they call it the golden hour.
I stay there on the peak for a good chunk of time and was lucky to catch this precise moment when the sun hid behind the mountains in the distance. It was so beautiful, and I feel like I just have to share.
After that, I made my way down to the other side and started hiking into the depths of the sand dune wilderness. Not longer after I made it down to the other side, I found a nice area that seemed to not be too affected by the winds. I took my tent out of my backpack, set up camp and just admired the area around me.
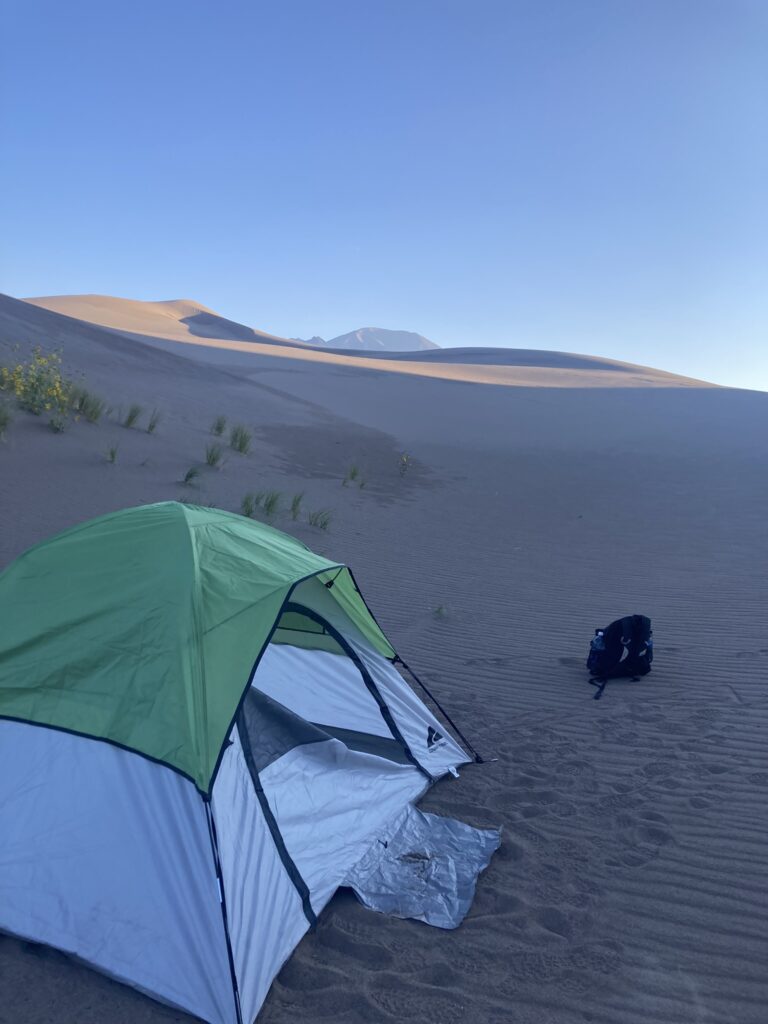
As the night came by, the starts began to shine bright. It was such a wonderful sight. I hung out for a bit, looking up at the night sky and then decided to call it a night. The hike was exhausting and the following day I had to hike back up and over to the other side and then make along drive back towards the airport.
The next morning, after the hike back, I made the drive back to Walmart and returned all my camping gear. I made it back to the airport right on time and nearly missed my flight. Pro tip – Don’t input the wrong date of birth when you purchase your flight ticket.
And that was the end of this wonderful trip. I hope posts like these inspire you to get out there and explore. Taking a solo trip out to a new state or new country seems scary at first, but once you’re out there it’s actually really not that bad, you’ll meet great, like-minded people, get more connected to nature, and make memories you’ll never forget.

Leave a Reply